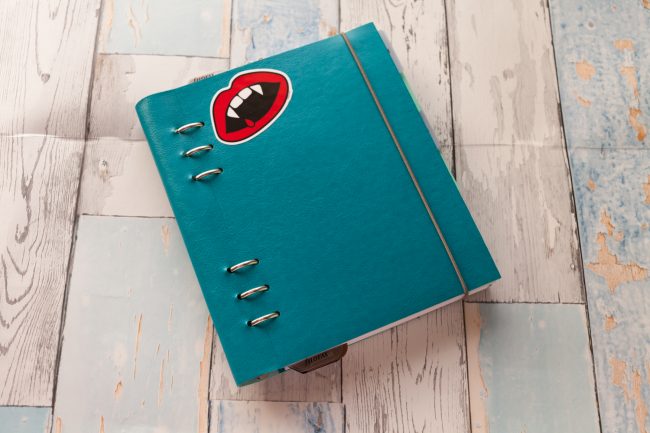
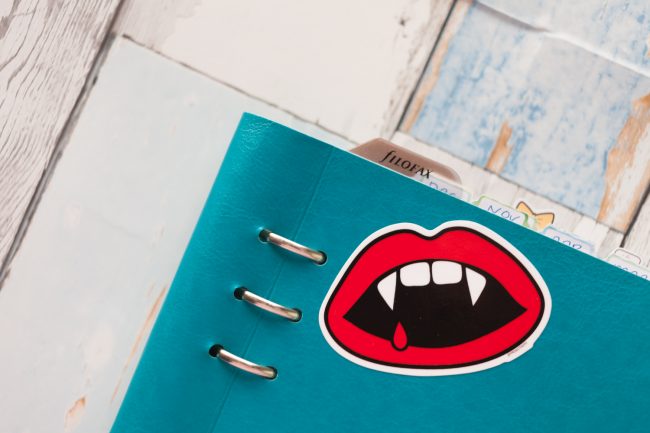
If you have been following me on Instagram then you might have noticed the planner conundrum that I have been having between rings and strings. Don’t get me wrong I love both, each has their good and bad points and don’t even get me started on discs! So I have grabbed my fave Filofax Clipbook and turned it into my planner. I love the slim profile of this guy. I know a lot of people use them as a notebook, that’s what they are advertised for but I think that they make a great planner. These have a super simple and slim profile so when I decided to turn it into a planner I had one concern and that was how the heck was I going to keep it closed! If you have used or seen one of these before you know they don’t have closures but I have a hack for you! So let’s get to the photos, shall we?
So you might think me a bit mad but here we go!
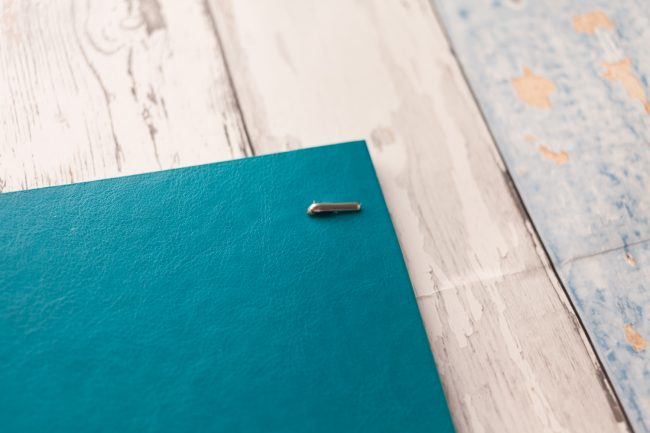
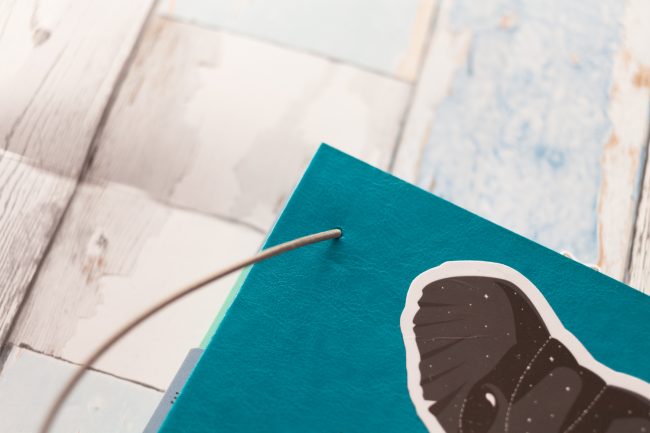
Oh yeah, elastic closure! So I had an old notebook from Personal Planner so I took the elastic off that and poked some holes in the back of the cover and added it to this! Do you want a closer look?
This is inside of the back cover. Super easy to do and I may have to order a different colour elastic to match the cover colour.
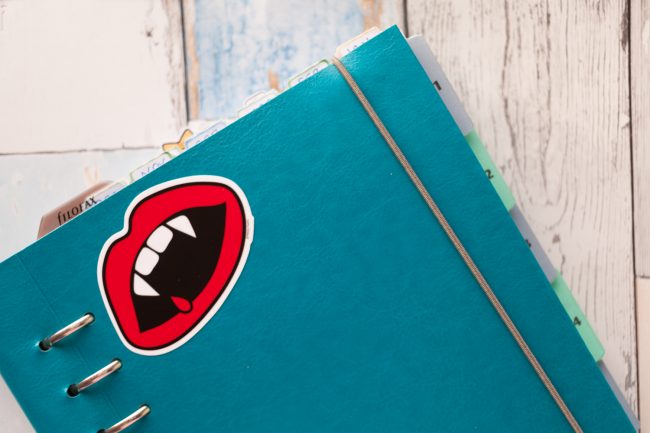
I am so happy with how this turned out! Do you want to see my set-up for the rest of the year? Course you do!
You’ll notice that I have a few tabs along the top and side, I know that this is something that people don’t like and I think that’s why they don’t use the Clipbook as a planner but it dosen’t bother me.
I also have a few page markers in here as well and the joy of owning Filofax’s is that you can mover the rulers from one cover to another. Let’s get inside, shall we?
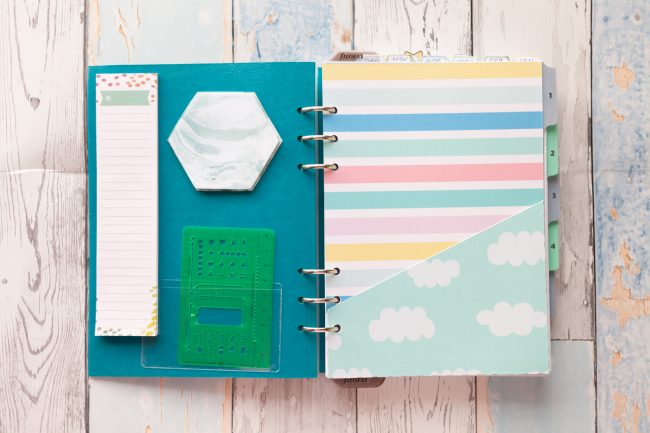
Simple and functional! I have some post-it’s as this is how I future plan in my planner. I also have a folder to keep any stickers that I’m using and I have a clear pocket for my Hobonichi stencil. My first section is my monthly and I will link to everything I can.
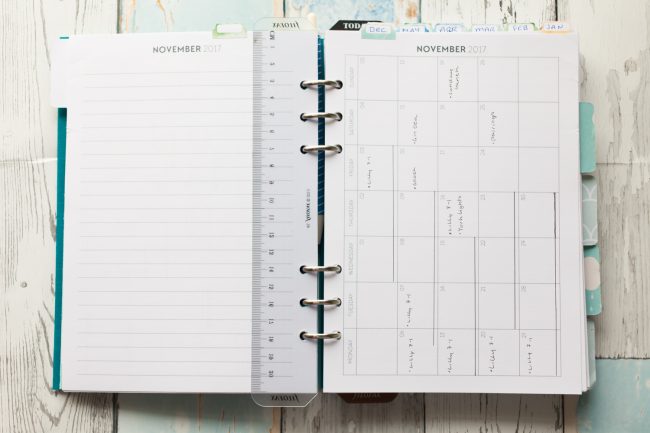
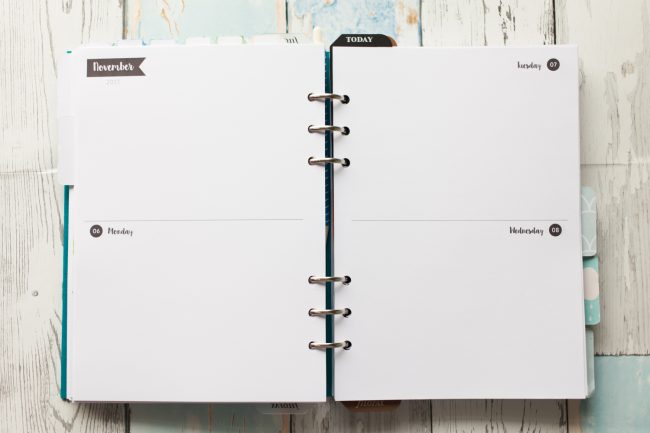
You’ll notice a lot of Organise With Katie inserts in my planner. I love Kaite’s insert though I do wish I had got the brights rather than the bold, oh well you can find these inserts here. I have kept this simple just marking out when Jono is in London and any appointments that I have, oh and when I have my niece. December, however, will be much more colourful I have a tone of Chocho and Mimi Christmas stickers!
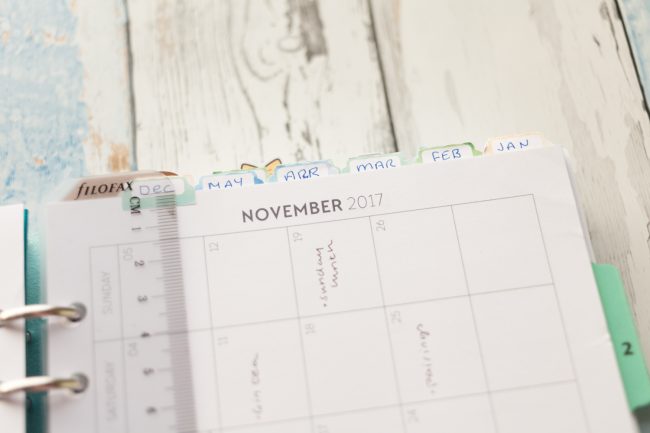
These tiny tabs can be found in Dani’s shop here. So useful to mark out your months instead of having to flip through the whole year!
These may look familiar, and that’s because I used them for a while in my regular tn. I loved how I was using them in my tn so I’m going to *kinda* replicate in my a5 but we shall see. You can find these inserts here.
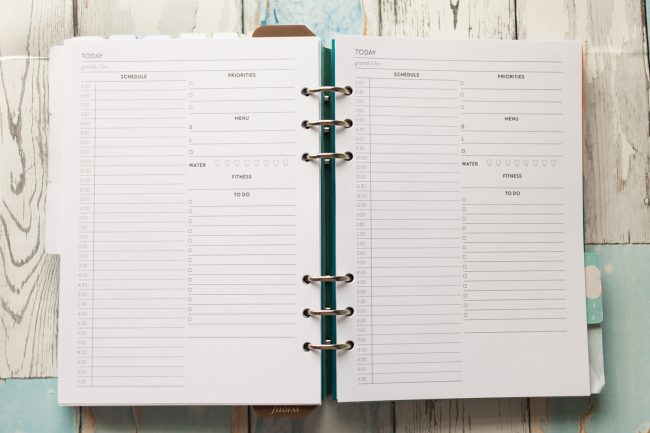
And for those days that I just have a tonne of stuff on I have some day on one page inserts, these I have been hoarding for a while but they are perfect for those overwhelm days that I have. It just means that I can break down my day and focus on certain things.
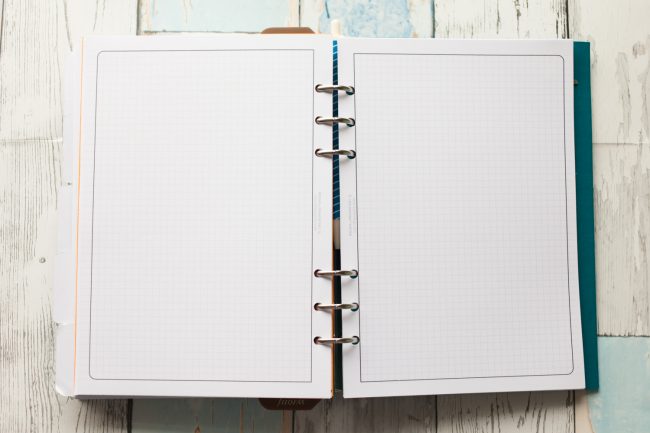
I then have a tonne of grid paper in the back for notes or for my Llama Loves Lettering challenge. I love this size grid, it make’s my handwriting feel neater. I have stripped my planner right back to the stuff I do on paper as I do a lot digitally as well. So we shall see how I get on with this setup, also Katie has challenged me to stay in these insert until New Year! Bring it on!
That’s all from me today! If you like what you have seen here make sure you hit that follow button on the left to get notifications whenever I post bloggity stuff. And you can follow me on Instagram @samplanslife.
Laters!
Sam

Thank you for your post. I’m getting mine tomorrow! Same colour. I’m using it as my lesson plan ”binder”. I was just wondering how you attached those post-its and the clear pocket on the front cover… it doesn’t come with a pocket does it?
Thank you!
Hey Morgan! I used a bit of adhesive tape to attach them to the back of the front cover